Photobucket Photobucket Photobucket Photobucket Photobucket Photobucket
Showing posts with label Craft. Show all posts

Saturday, October 12, 2013

Fall Felt Fun

IMG_1850

Fall is here and we've pulled out some of the play things from last fall.

This means fall books, a few fall movies and this perfect fall felt board.

IMG_1853

This proved to be even more fun this year than it was last year!

He loves putting all the leaves up just right.

Believe me, I am often called out on my faulty leaf placement and 
he'll then correct my placement to suit his design.  

I'm not sure why this is necessary because the highlight of getting all the leaves up is that he then swipes at the tree to watch all the leaves fall down in a heap on the ground.

IMG_1872

Peanut just got over a mild case of Pneumonia in which he seemed to go thru long spurts of being tired and very short spurts of crazed energy.

In any case, some easy, quiet, inside play was perfect.

a

If you want to see how I made this DIY Fall Felt Play Board you can find it HERE!
(or any of the other many places I linked on this post)

Sunday, November 18, 2012

DIY Fall Felt Tree Play Board

525534_4963491811587_1277949317_n

I'd been seeing all these awesome felt Christmas trees on Pinterest 
and it hit me that we could (and probably will) do something similar for all the seasons.

I don't have many fall decorations, I adore trees and
 I knew Peanut would like this so it's a win for everyone.

1

I took a yard of felt and held it up next to Peanut, took note of how high he could reach and cut the felt off there.  I couldn't find chalk anywhere so I sketched on the fabric with yellow highlighter.

I don't suggest it.  :)  It was hard to see and I kept drawing it over so in the end I just sort of ended cutting branches as I went.

The beauty of felt (and hot glue) is that you can do these in pieces if you need to, or you can add on if you want.  I had to do the tree in two pieces but you barely notice.

2

Of course, it can be as simple or as intricate as you want.  

After you have the base of the tree cut, position it on your large felt panel and hot glue it down.

I suggest starting from the bottom and working your way up and doing so by starting at the trunk and working your way to the tip of you branches, smoothing as you go.
This prevents wrinkles in your felt.

IMG_0644

I glued a nice little knot hole over the seem in the middle.

1052_4963428009992_1741062351_n

If you can, try to time the project during a visit from your family so you can have everyone help cut your fall leaves out.

I printed a maple leaf template off the internet and drew a second smaller leaf.
My in-laws and niece cut out leaves in a variety of fall colors.

3

Ta da!

A fall felt play panel that is also a pretty decoration and will keep the Peanut busy while I get something truly worth while done... like read a book or pin more projects or eat chocolate.

IMG_8097

He thinks it's especially hilarious when he tries to put a bunch up
and half of them go falling to the floor.

Only these fall leaves make a much nicer pile on the living room floor.

a

When fall is over you could roll it up and pack it away for next year
or you could set it aside and cut out some leaves in lovely greens and yellows for spring!

Shoot, you could even do snowflakes for winter and don't even get me started on other things like acorns, birds, owls, bats, spiders, webs, swings, blossoms.... oh the possibilities are endless for a variety of holidays and situations!

Tuesday, November 13, 2012

Peanut's 2nd Birthday!

IMG_7858

A few weeks have gone by and I still feel like this picture 
is an accurate portrayal of Peanut's 2nd Birthday.

It pretty much flew by in one big happy blur.

b2

We did a Halloween costume party (which I will continue until he one day decides he wants a birthday that has nothing to do with Halloween) with an emphasis on monsters.

With the help of my craft slaves (thank you mom, dad and B) we created a "Monster Adoption Center" with  felt monster plushies, each unique and complete with adoption papers to be filled out by our guests!  Kids decorated gift bags to take their monster's home in.

b8

And then monster Peanut chased Pirate Daniel through the backyard and into the house.

Can you see Pirate Daniel screaming?

b3

We had a kids table set up with the awesome mummy juice boxes that my mom and dad created.

Actually, they did everything except for the cupcakes and the pulled pork.
So before you all start asking how I do it all, I'd like to put it on record that I don't.

b6

And then Monster Peanut chased Pirate Daniel down the hall and back out into the backyard.

b4

Mom put together a nice display of both creepy and cute treats.

Everything tasted amazing but some people were a little freaked out by the eyeballs and spiders.

b7

I attempted to take a picture of the two of them together which was such a joke.

Boys!  Boys!  Pay attention!


IMG_7885

This was a fluke but it totally made me laugh when I was sorting pictures.

b5

The top right shows the adult food buffet but lets be honest, the kids always eat the adult food and vice versa.  B made some super fantastic pulled pork.

The dessert table was stocked with these unique and handcrafted monster cupcakes as well as suckers and cookies!  You know I love a good dessert table.

b9

My favorite part by far is getting to see all the kids in their costumes!

Super Jake up top is in a homemade costume which I am super impressed with.

b10

Baby Conner!  Remember my great-nephew that was born super early?

This is the same child, can you believe it?!

b11

Time for cake which thankfully no one ate because seriously, how toxic does that frosting look?

Next year he either gets a homemade one or a large cupcake.

Then Evan had to jump on B's lap and practice for his birthday the following week.

b12

Pirate Daniel and Peanut apparently found some treasure, dragged it to the other end of the backyard and dug in.

I see you two!!

IMG_7955

This is soooo Peanut.

In the midst of everything, with all these kids clamoring to open his presents and see whats in the next box, Peanut is going to sit and very leisurely browse this book.

Love that kid.

b13

Finally the big surprise.

Peanut's First Bike!!!

We got him a push bike and his little face lit up when he saw it.
He's still just a tad too small for it but he'll be perfect for it soon enough.

I don't know who was more excited... Peanut or daddy.

IMG_8006

I don't have many pictures of me in them but I feel like this particular monster lantern shows exactly how I felt after the party.

Thank you everyone for the birthday wishes, for joining in the party and for loving our Peanut so much.  It was a blast.

But seriously, don't ask me about next years party until at least September, OK?

Sunday, June 10, 2012

Hand print art: take 1

IMG_6039

Have you seen the bazillion different things you can make with hand and foot prints?

Well, it doesn't really matter how many times you see them, 
they are still pretty cool when your own Peanut makes them.

IMG_6026

This was our first time playing with finger paints.

He's not really sure what in the world is going on.

After we did the fancy one I let him paint on his own.

IMG_6036

I thought that he would dig right in and make a complete mess like he usually does.

Instead, he was very neat about it.

IMG_6037

He used one finger.

Very gentle.

IMG_6046

He was really more interested in daddy's garage.

He doesn't get to play in there often.
I can't imagine why.

I'll just stand right here and make sure my baby doesn't get swallowed by a mound of bikes.

IMG_6216

Here you are grandma!

I made it just for you!

Tuesday, October 18, 2011

No-Sew Owl/Bird Wings

IMG_0679

These wings are super easy and require nothing more then felt and hemming tape.

OK and scissors, a piece of paper, a pencil and an iron.

At the end I've listed several costume ideas, there are just so many possibilities.

This project is super, super easy (although a bit time consuming) so don't let all the text throw you, 
I've given extremely detailed directions.

Here is the short version for you naturally crafty people:
The base of your wings is a half circle of felt (cut in half for each wing),
the length of your child's "wingspan".
Cut feathers in whichever size and color you like and apply them using hemming tape (or stitch witchery).  OR HOT GLUE
Attach to a shirt, hoodie or onesie with the hemming tape 
OR to a ribbon at the neck (to tie like a cape) 
and ribbon or elastic for the wrists (using the tape or hot glue) 
Done!

Picnik collage

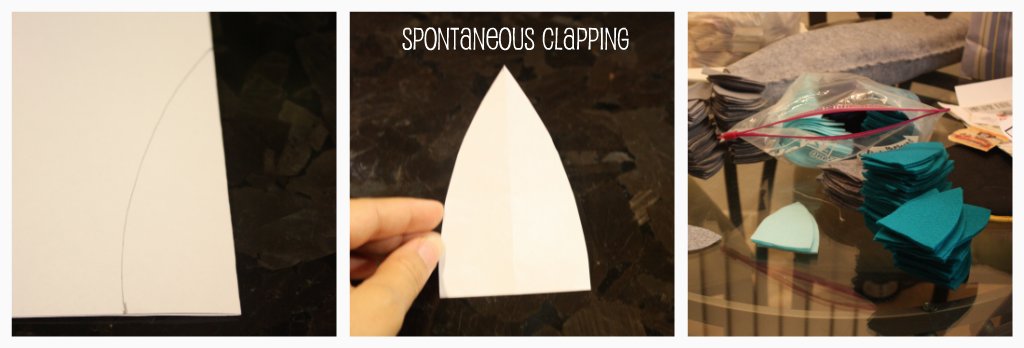
Start by folding a piece of paper in half and drawing your feather.

Mine were about 2 1/2" wide and 3 3/4" long and I used nearly 80 of them.
The longer and wider the feather, the less you need to use to cover your wings.

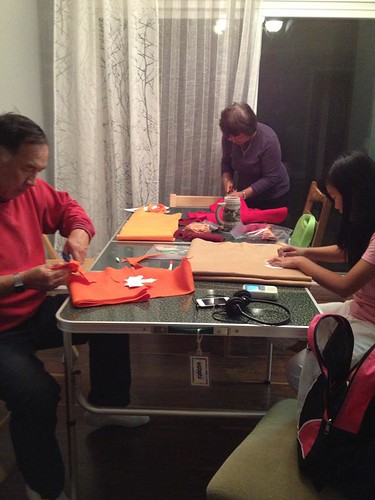
I used the paper as a template to cut the first felt feather.
After that I used the felt feather as a template as felt on felt doesn't slide like paper on felt.
Use a different color than what you are cutting to make it easier.

A note about the felt:
I preferred to use the kind of felt you buy at the fabric store by the yard as opposed to crafters felt.
Crafter's felt is fine but is less durable.
Depending on how active your child is you might want something that isn't as easy to pull apart as crafter's felt (the stuff that comes cut into little squares in the art & craft section)
Either are pretty darn cheap.

Picnik collage

Measure your child from wrist to wrist while they have their arms straight out in a T.
This was the hardest part of the whole project.  
Try getting an 11 month old to stay still for measuring!

Cut that measurement in half, say 12 inches and that is your wing width.
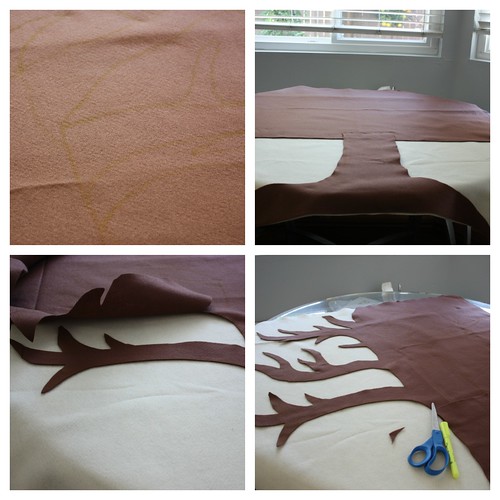
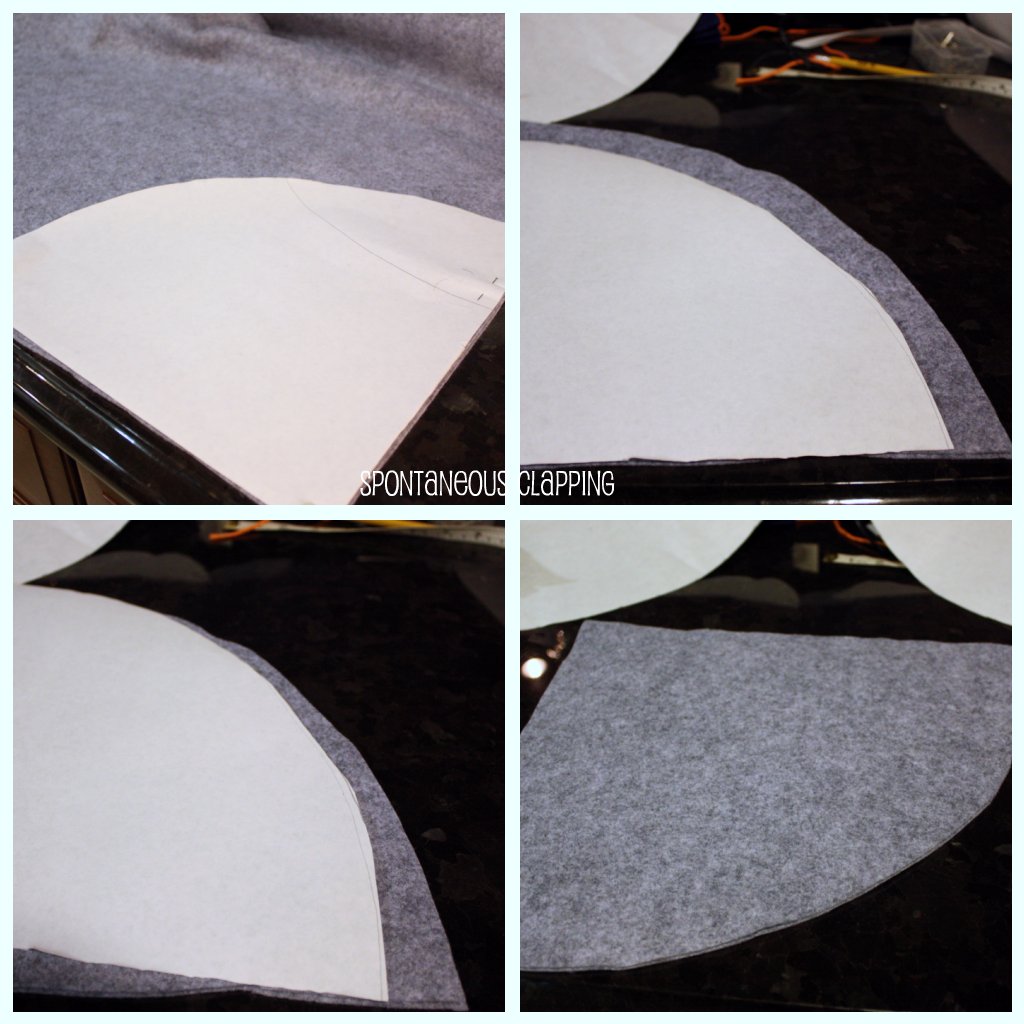
I used a piece of butcher paper but you could open up a paper bag or other large paper for this.
If using newspaper go for the glossy color ads that won't get your felt dirty with print.

I used a measuring tape, tacked down in the corner of the paper
and marked every several inches from one side to the other.
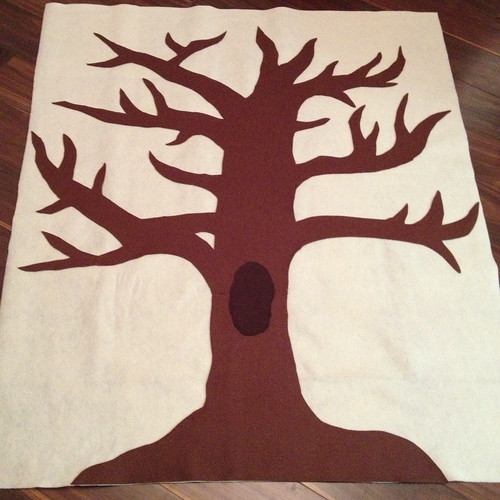
Then simply connect the dots and cut out your wing.
At this point you are ready to go.

This is totally unnecessary but I decided that I wanted the wings to be shorter then they are long
so he isn't sitting on them when I try to take pictures.
I took my template and cut another inch off and then adjusted it so I could cut the inch off the bottom with a nice smooth transition.

Note:  I really should have adjusted it 2 inches as my feathers are hanging off the end but really... 
noone is going to notice so I will try to control my OCD :)

Picnik collage

AT THIS POINT YOU COULD JUST HOT GLUE IT
-Note that hot glue will make the wings a bit stiff but it would be faster.

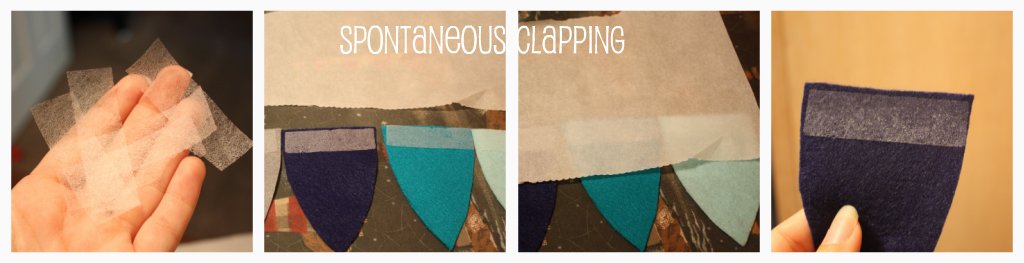
Cut your hemming tape or stitch witchery (I used the 5/8 inch, regular weight) 
into the right length to fit across the top of your feathers.

Some hemming tape comes with a paper backing and some does not.
We don't need it.
Line up your feathers on the ironing board (you can do 2 rows with the tops towards the middle)
cover with a piece of parchment paper and iron on medium.

It takes just about 5 or 10 seconds and 
when you peel the parchment off your tape should be stuck to your feather.

If not then just press again.

Picnik collage

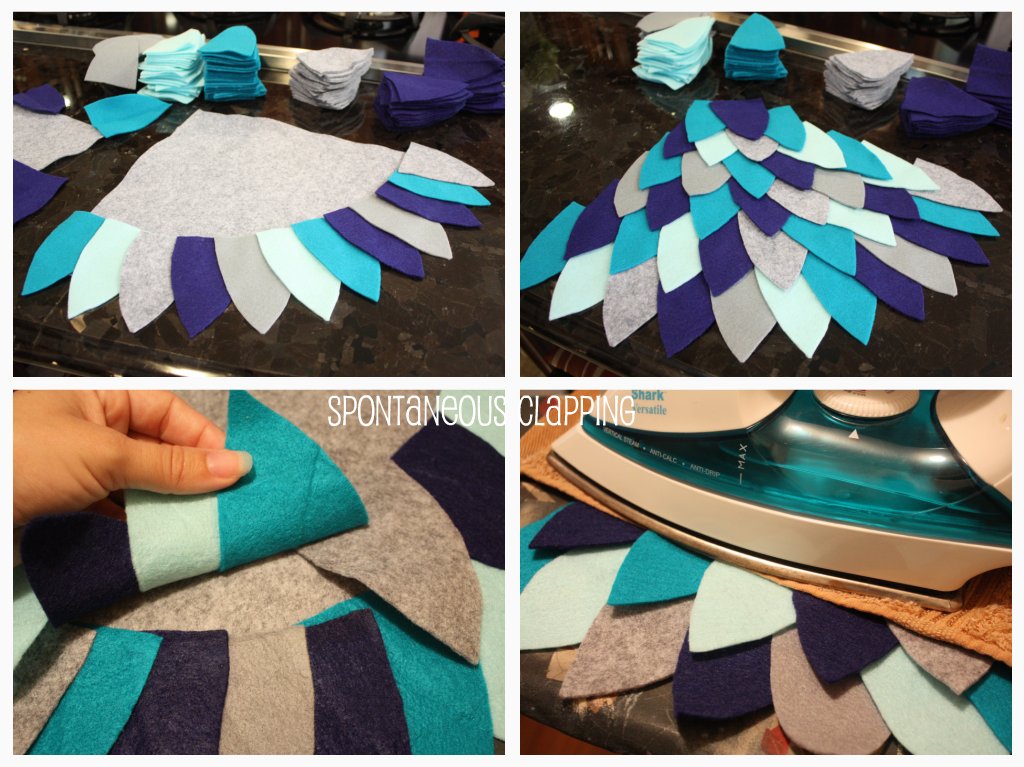
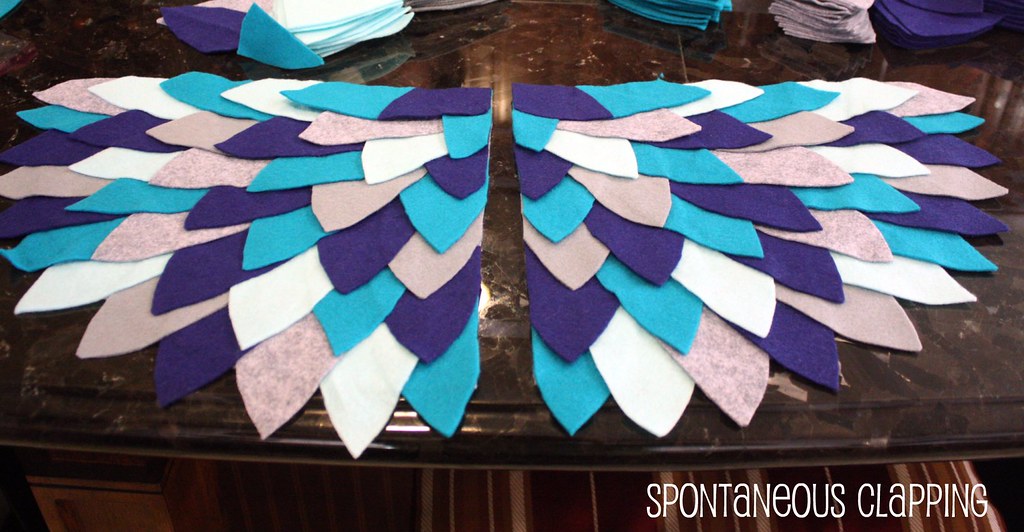
Now you are ready for my favorite part which is laying out your design.

Start on one side and lay out your feathers to your liking.
If they go off the end of your felt don't worry about it, we are going to trim later.

I adjusted the right side to my liking and then actually ironed on the left side to mirror the right.
When the left was done I ironed the right.
This ensured that I always had a guide... because I'm a little crazy,
You could also just put them on as you go.

Again with my right wing as a guide I started on my left wing.
Always start from the bottom.

Lay out one row, cover the felt you are attaching with a damp, clean cotton washcloth
and press with a hot iron (set to wool) for 15-20 seconds.
Just press with that iron, don't slide or you might move your pieces.

If you are using a really thin cloth try just 10 seconds.

You want that sizzle when the iron hits the cloth as the steam is going to melt the tape
 and fuse the fabric together.
You will need to occasionally re-wet your cloth.

Give it a little time to cool (30 seconds or so) and then make sure it bonded.
If it isn't then press again.

Repeat until all the rows are completed.

If you like you can flip over your wings so the inside is showing and trim the top and inner feathers.
This isn't necessary :)
Be sure not to trim the feather on the bottom/curved part!

Note: If for some reason things get really out of whack you can always re-press/steam and then remove the feather while the glue is still hot.  You'll need more hemming tape to re-stick it.


Picnik collage

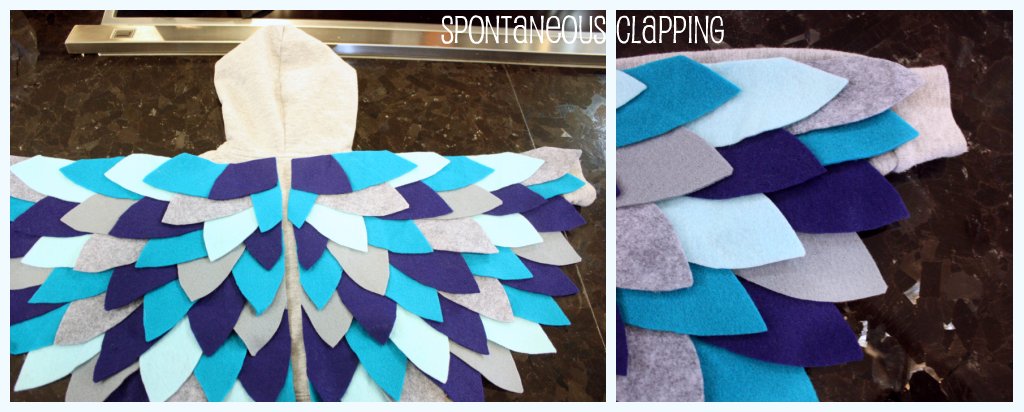
What to do with these awesome and adorable wings?!

Attach them to a hoodie, add a few felt feathers to the front and maybe a cute face to the top
and you have a costume!
The same goes for a shirt or onesie.
Attach only at the top so the bottom has give for movement.

Attach to ribbon to wear cape-style as shown HERE
which was actually my inspiration for the whole project.

Wouldn't this be cute attached to a leotard,  feathers in the front or around the neck of the leopard,
with a tutu or fluffy tulle skirt?
Add a mask of felt and tulle or feathers to tie it all together.
Then take no less then 100 pictures and send me at least a dozen.

Picnik collage

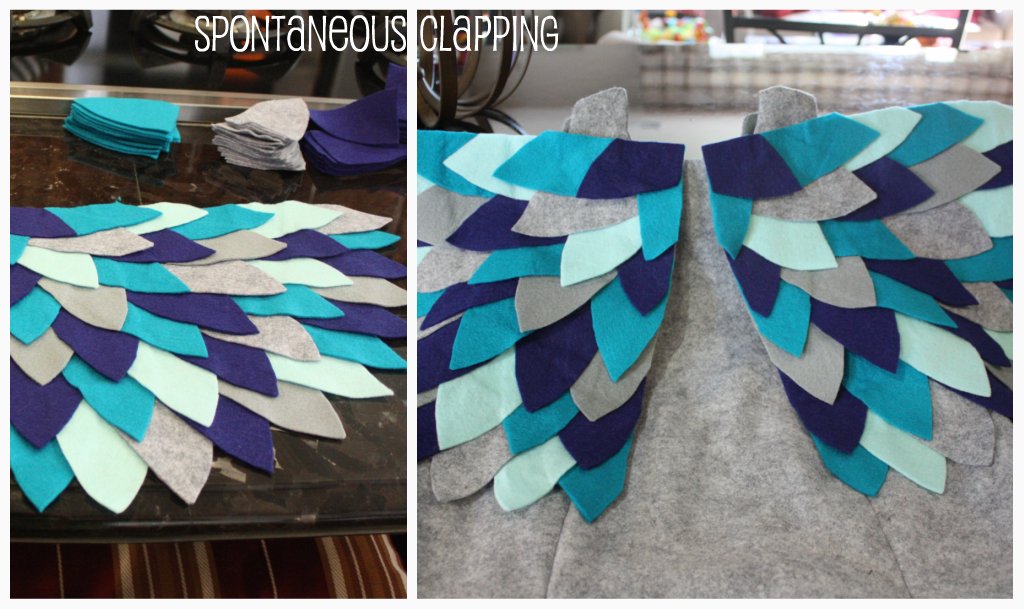
I'm going to add it to an owl costume by cutting small slits in the top of the wings
for the buttons that will be on the costume body.
I'll sew or hot glue elastic for his wrists.
I wanted the wings to be removable because I'm not sure how well he'll like them for the duration
of both his birthday party on the 30th and Halloween itself.

I have no idea how long this took me as I did it piece by piece during nap time and after bedtime and whenever I could over the course of several days.

I hope you enjoy your wings!!

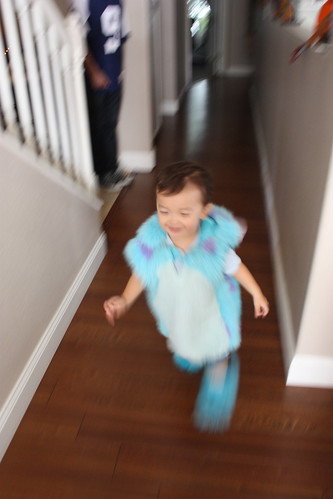
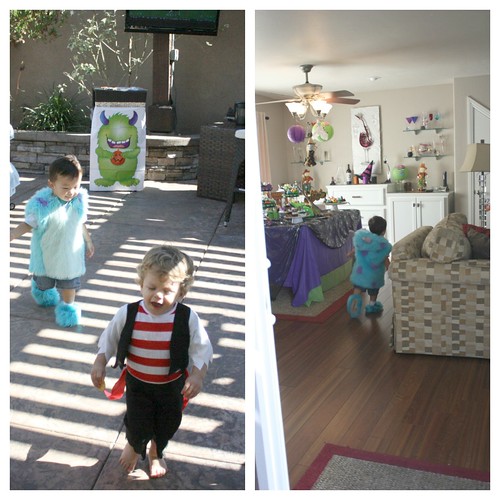
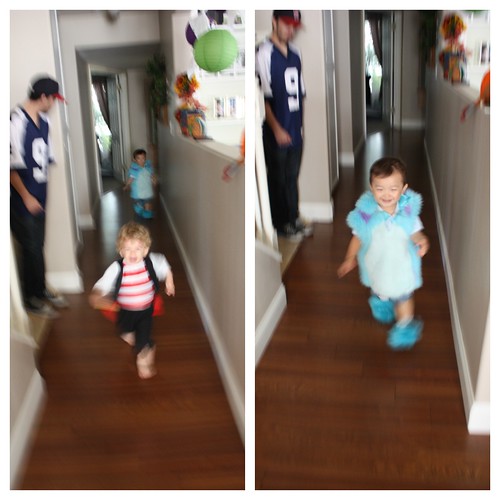
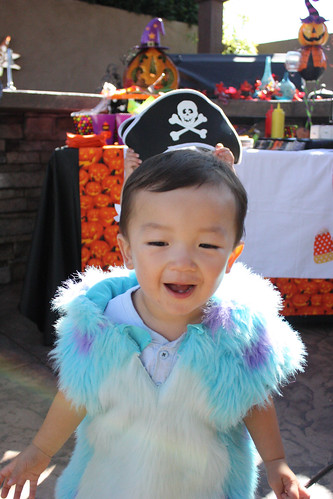
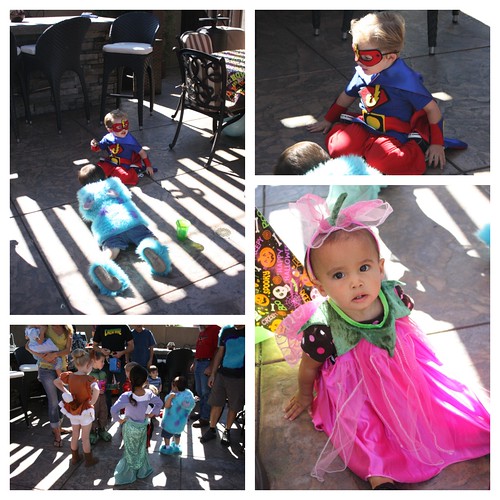
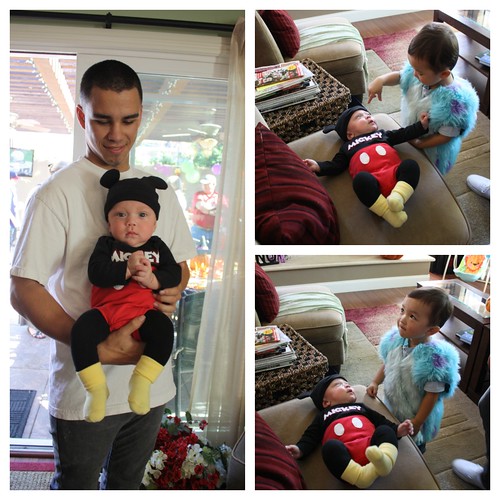
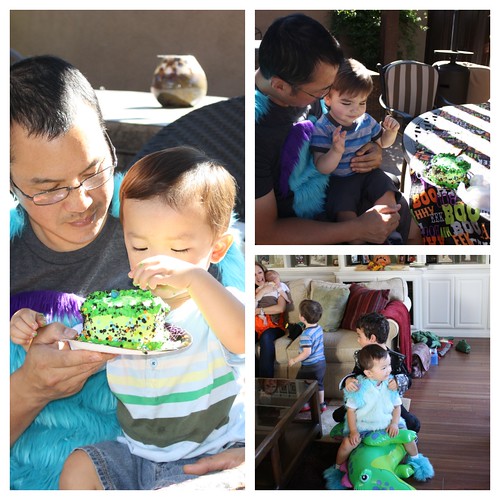
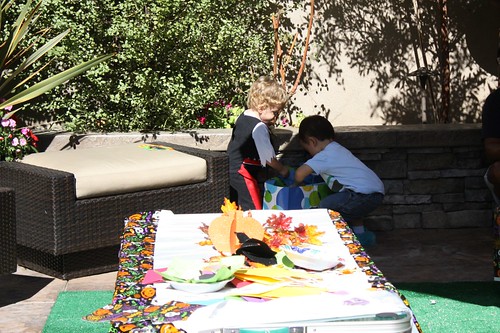
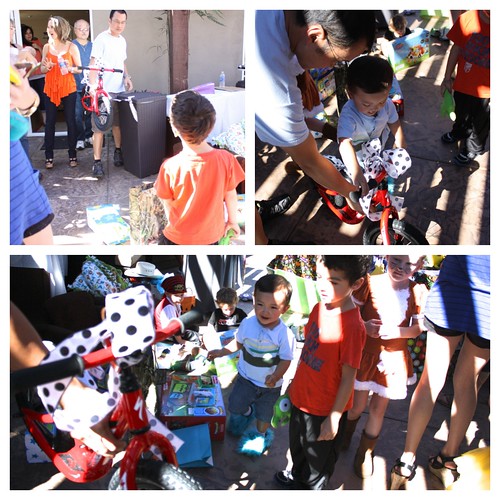
Here are some pictures of the finished product- they are taken from his birthday party and it was hot so we took off some of the pieces but he was ADORABLE!
Related Posts Plugin for WordPress, Blogger...
Blogging tips